Midway MCR Repair
Aug-2020
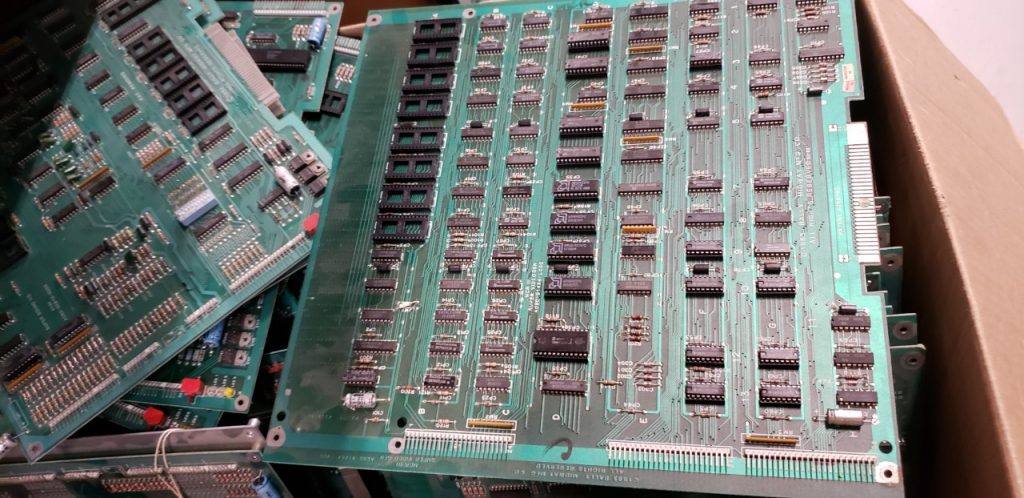
The Midway MCR series hosts a number of classic games. This page will mainly discuss the MCR 3 series, which includes Tapper, Timber, Discs of Tron, Spy Hunter, Journey, NFL Football, Demolition Derby, and Craiter (sic) Raider. Some information is generally relevant to all MCR series games.
Repair Info, Common Failure Modes
These boards are simultaneously intimidating yet straightforward to repair. On one hand you have 3 whole boards connected by ribbon cables, and 3 z80 processors doing different tasks. On the other hand though, the boards are laid out in a easily recognizable, modular structure. There is also a myriad of information out there in original manuals as well as online forums. This is a great read about the theory of operation, and it was my starting point when I began to tackle a huge pile of broken MCR 3 boards.
I was able to repair almost 100% of the boards I encountered with an oscilloscope and multimeter. If I had the luxury of owning a Fluke 9010, my process might have been different, but here were the steps I took when I had a dead board on the bench. At each point I would test again to see if I got any further.
Disconnect Sound Board – You can disconnect the sound board via the ribbon cables in order to leave you with only two boards to worry about. Every game should boot like this with a “sound board interface error” except sometimes Discs of Tron. It is worth doing in any case. The sound board can cause a lot of problems with the rest of the game. Common issues include shorted tantalum caps and bad 74LS244 input buffers.
Replace Ribbon Cables – With the sound board disconnected, replace the 3 ribbon cables between the video and cpu boards with known good reproductions or originals. I find the rubber coated later style cable to be decently reliable. It is the plastic or paper ones you need to look out for.
Replace main Z80 CPU – I found a ton of bad z80 chips on the CPU boards. I am not meaning the smaller package Z80CTC either. Only the traditional 40 pin CPU. I have never run across so many bad Z80s, and they were from a number of different manufacturers. Initially, when troubleshooting boards I would shoot them with freeze spray (or upside-down computer duster) and find that freezing the CPU would cause it to work. Eventually I just adopted swapping out the CPU into my standard routine because it was so common. Even if your problem is intermittent or it only occurs after being powered on for awhile, swap out the CPU.
Verify/Burn your own ROMs – Most of the boards I work on had no ROMs on them, so I was forced to burn my own. However, a couple of boards with original ROMs caused me great pain when I assumed they were trustworthy.
If you are still having problems after these steps. Your board has an atypical problem. But have no fear! Here are some specific chips which I frequently found to be bad, and some potentially related symptoms.
Dead Board – (All on CPU board) 74s04 @ 6A, 74LS161 @9B1, 6116 RAM @6B, Midway Custom ICs @12F, 13F, 10B2, 11B2
Colorful Screen, No Meaningful Image – All 74LS244, 74LS245 on CPU board, but especially @3B. Get out your scope or logic probe! Also 74LS157 @4D.
Sometimes you have a game that plays but still has issues. If you aren’t sure that your board was originally made for the game you are trying to get working, check out my article about converting MCR boards and make sure. If you’re still having problems with graphics, try replacing the 94322 and 82S212 ram on the video board. I had a few video boards with cold solder joints as well. I found these by flexing the board and observing the problem change as I did it.
I hope this information helps. Best of luck!